In Part 1, we talked about the prep required to repair old kitchen cabinets as well as what to do with hardware that’s old or uncooperative. Now that you’ve got your repair site ready, your doors and drawers set aside, and your hardware removed, it’s time to move on. Now we’ll talk about painting and/or papering your cabinet exteriors.
Paint or Paper Cabinet Exteriors
When old cabinets have worn out, you’re often left with old, worn-through paint, broken-off coatings, or worse. To spruce up the exterior appearance of your cabinets, we’re going to look at two great ways of improving them: painting and papering.
Painting Your Old Kitchen Cabinets
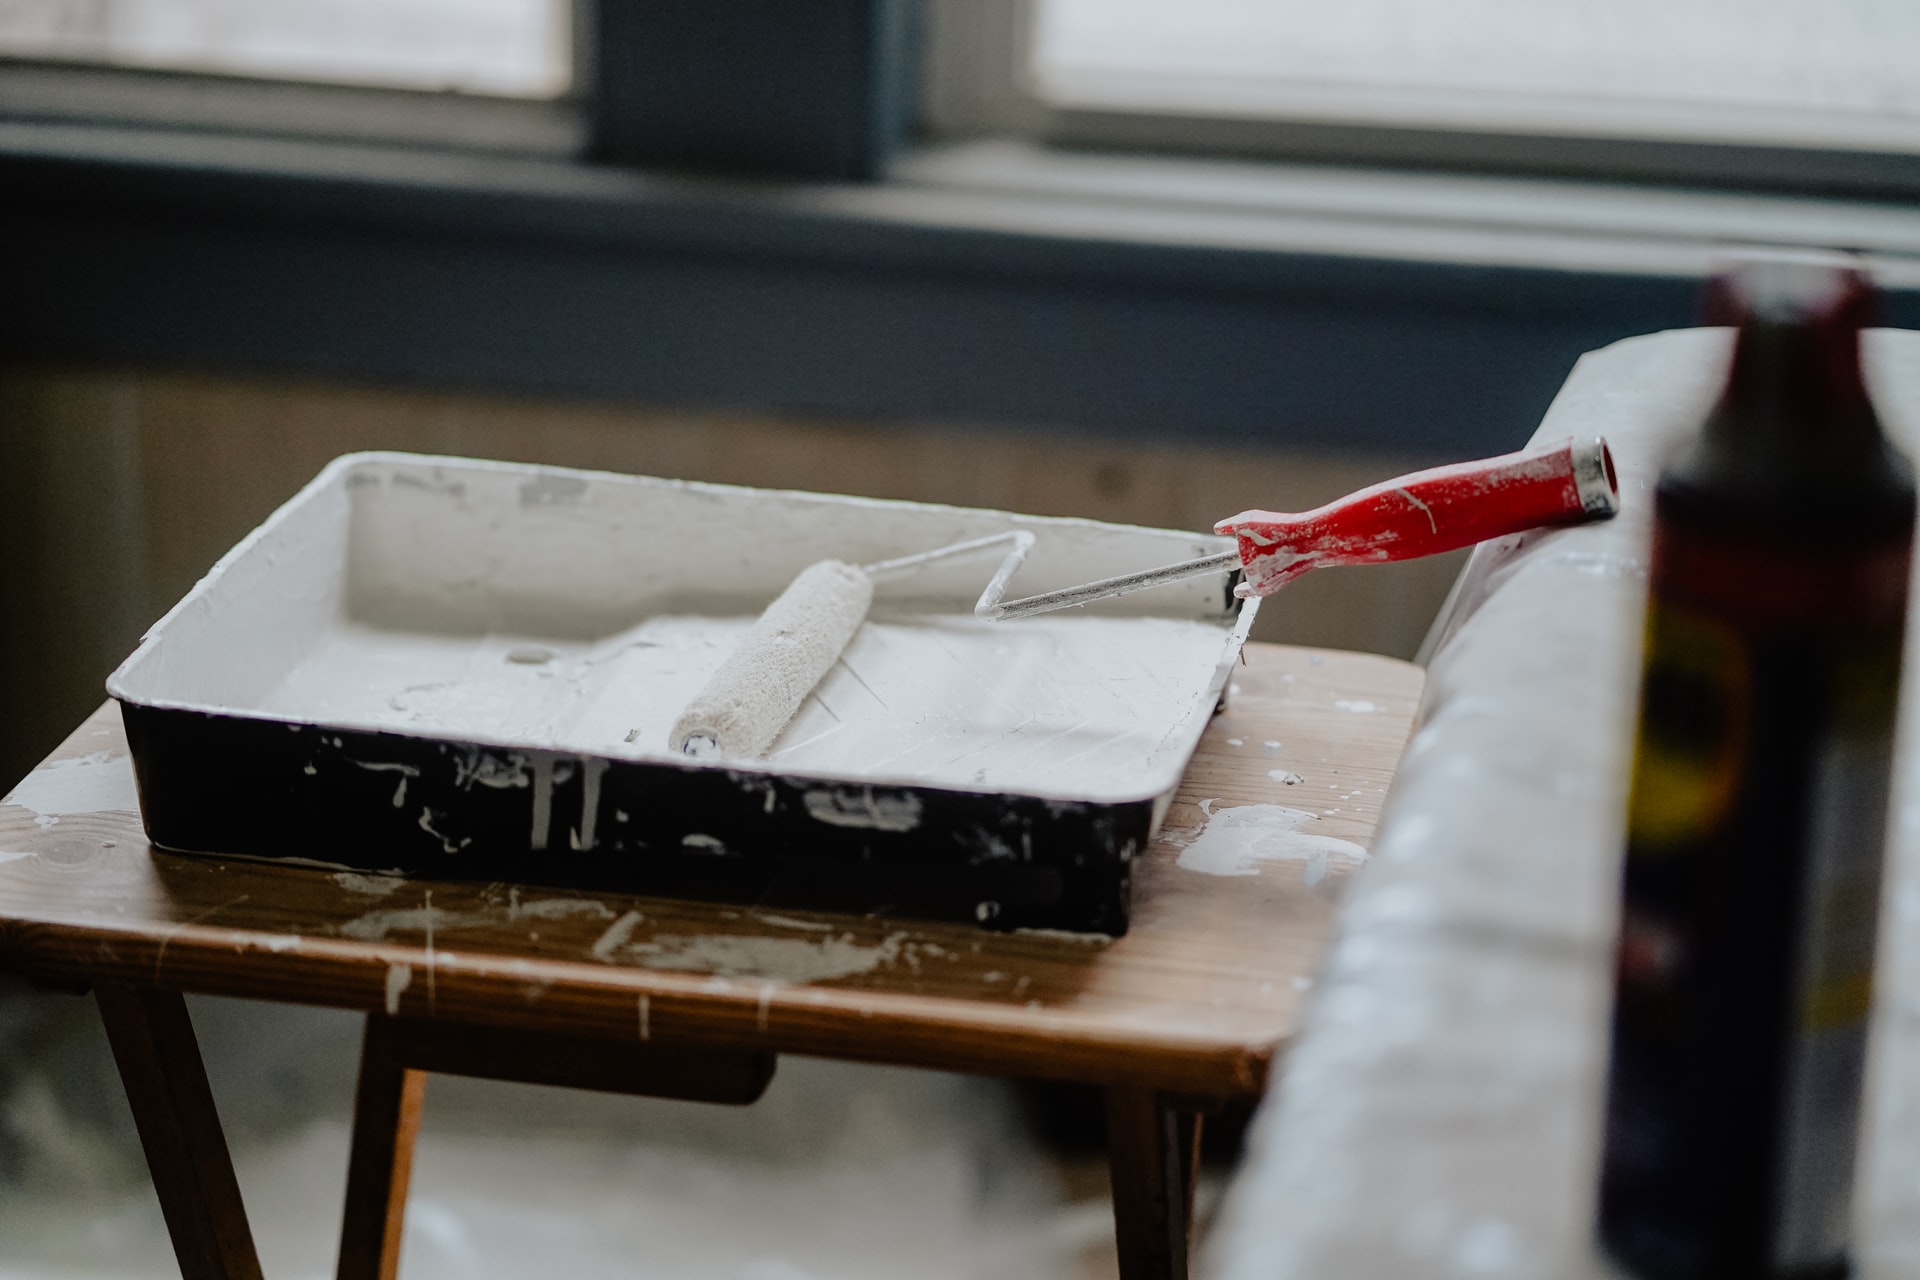
The most common way to repair old kitchen cabinet exteriors is by painting them. While there are more in-depth guides on the how-tos of repainting cabinetry, we’ll stick to the basics.
Any kind of laminate cabinetry will offer you two options:
- If the lamination is intact, you can sand it and paint it.
- If the lamination is broken off in some areas, you will need to use a chisel to remove the rest of it, at least on that face, to prevent a visible change in surface level once painted.
In either case, as well as with wooden cabinetry, you’ll need a sanded surface that’s rough enough for paint to stick to. Sleek surfaces won’t allow paint to adhere properly and it’s much more likely to chip or flake off.
When you’ve sanded the faces of your drawers and cabinet doors, as well as the remaining faces on the cabinet bases, you’re ready to start. Remember to test out swatches of the colors you like before doing the entire set of cabinets. You might find that that color you like in small amounts is too bright or dark for the entire set of cabinets.
Follow the drying instructions on the type of paint you’ve bought. Don’t rush the drying portion of this or your paint could end up tacky/sticky. Aim for at least 2 coats of paint, but up to 4. Adding extra coats will allow your paint to last longer without wearing through. A single coat of paint is likely to show brush lines as well as wear out within months.
Papering Your Old Kitchen Cabinets
Another way to repair old kitchen cabinets’ exteriors is by papering them. You’ve probably heard of papering shelves in order to protect the exposed wood from food and grease. However, something you don’t hear much is that you can also paper other things.
Why Paper Your Cabinets?
Papering your cabinet doors and drawers is a great way to cover up worn-out paint or wood finish. Plus, vinyl papers or wallpaper are slower to wear through than paint. It also allows a lot of customization. While more busy paper designs might be a bit too gaudy for most, there are a lot of calm patterns or solid colors that work great. Choosing a paint color that compliments your paper pattern and painting the base cabinets can make a beautiful and artsy contrast.
The only requirement for papering your cabinet exteriors is that the faces of your doors and drawers are flat. If you have shaker cabinets with a sunken in center, this won’t work well for you unless you want to go to extraordinary lengths to work with those 3d surfaces.
Applying the Paper
For those with flat doors and drawers, you can use shelf paper, vinyl paper, or even wallpaper to cover doors and drawer faces.
- Sand the surfaces you’ll cover.
- Cut your paper into a size about six inches wider and taller than the surface you’re covering to allow for a few inches of extra paper on each side.
- Apply an adhesive glue that works with the paper of your choice. Spread it with a brush to ensure even adhesion and no bubbling.
- Carefully apply your paper from one end to the other, using a flat edge to press the paper down as you lay it. This will ensure adhesion and prevent air bubbles.
- When the surface is covered, turn the door or drawer face down. Then, glue the extra paper down along the sides and back of the door or drawer.
- Use an X-ACTO knife to remove any paper that doesn’t fit neatly on the back of your drawer faces.
Continue Reading
Continue on to part 3, available on April 5th to learn about covering damage and finishing touches.