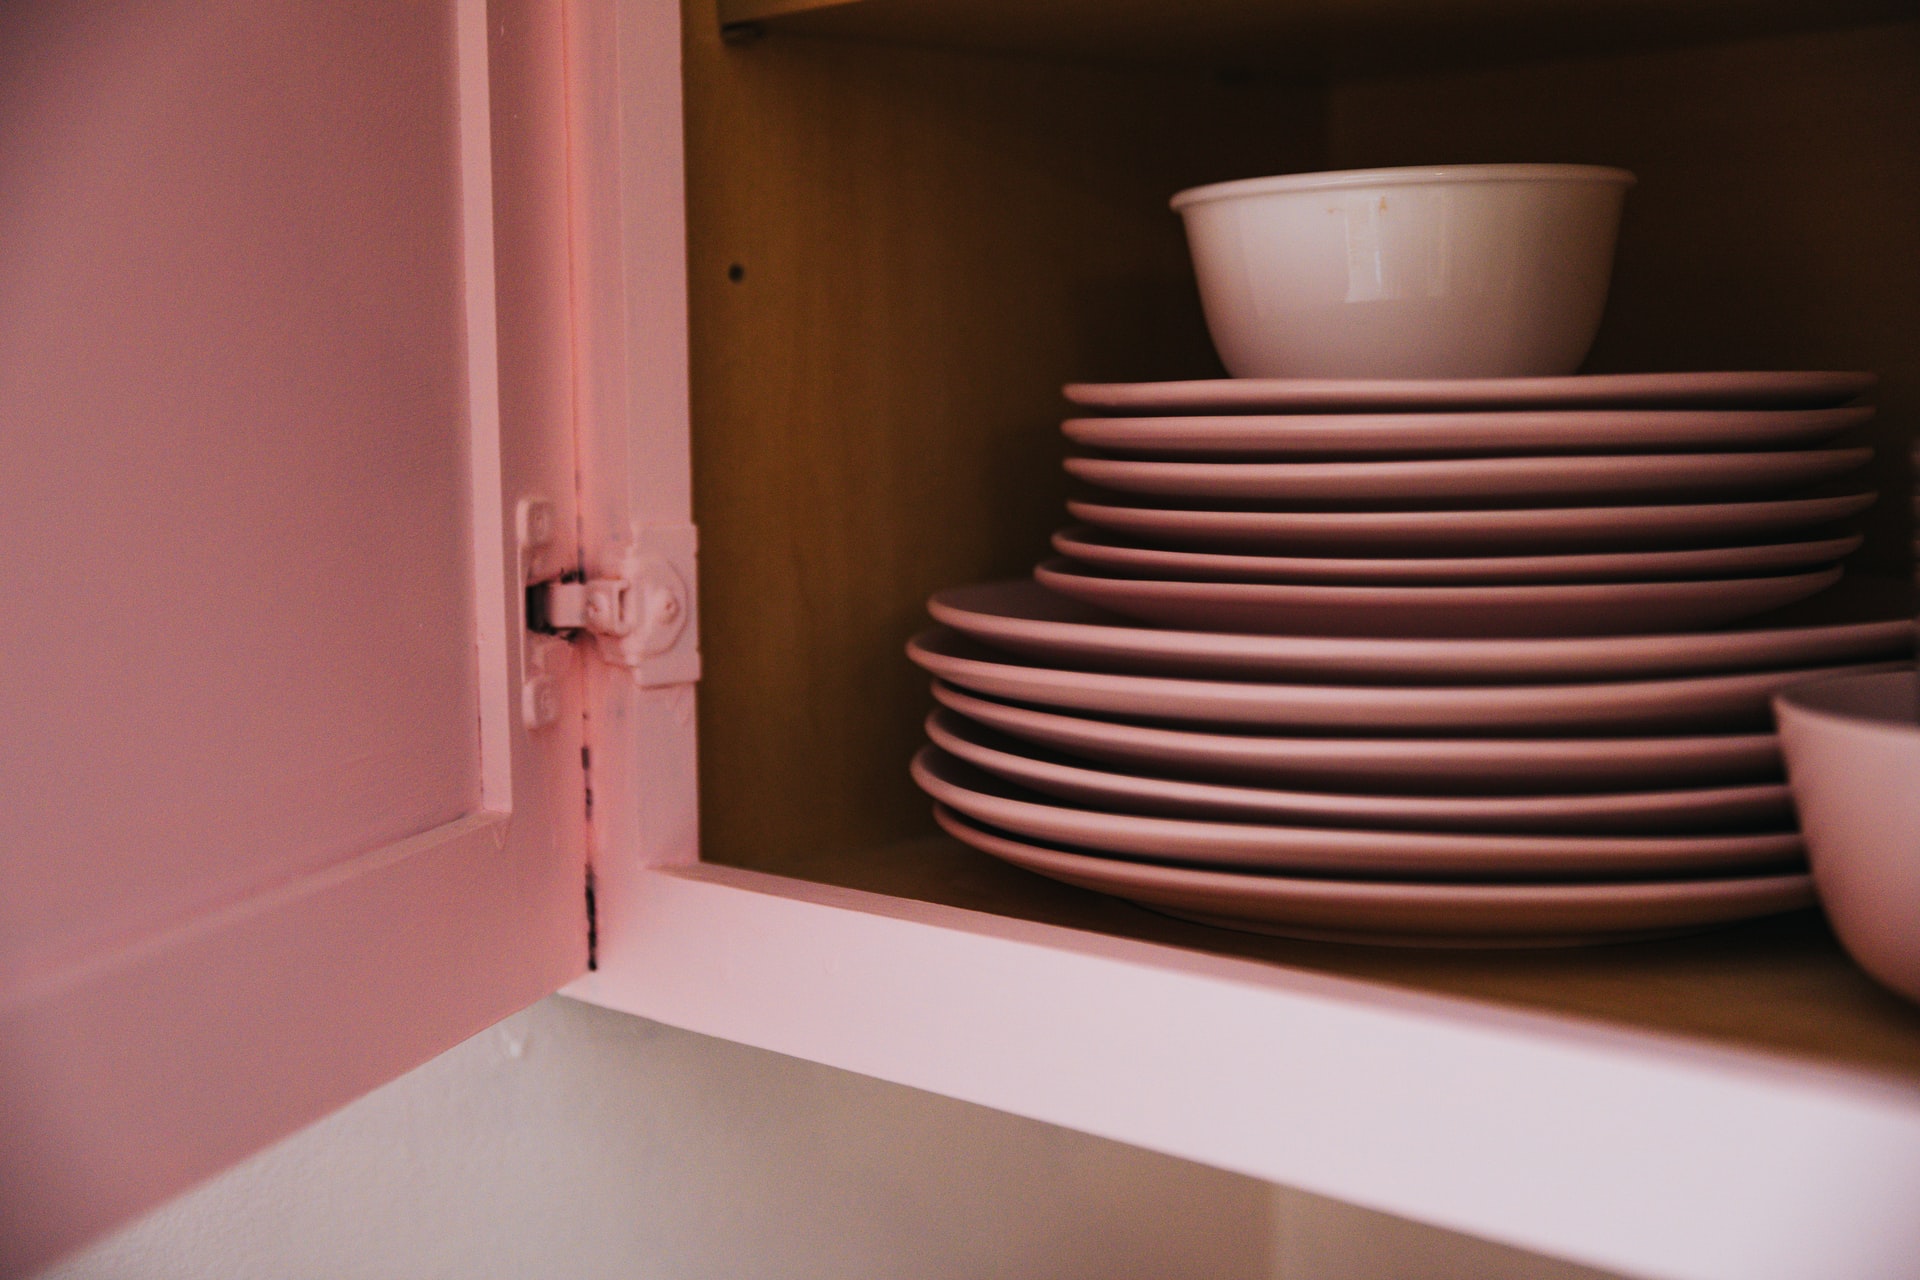
Tired of your cabinets looking aged and dull? A new coat of paint can be all it takes to bring them back to life. If you’re up for a little DIY and some hard work, you can even put that fresh coat of paint on by yourself. Here are some tips on painting kitchen cabinets, written for you by the professionals in cabinets.
Pick Your Paint
The first step to painting your cabinets is picking the color you want. Perhaps you’ll go for a natural color for a kitchen, like white or black. However, keep in mind, if you like your interior to look a little more unique, this is a great opportunity. You can paint your cabinets any color you like – even colors you can’t normally get cabinets in. Turquoise, anyone?
Gather Your Tools
You will need a small collection of tools to do this by yourself, however.
- Paint and brushes. It goes without saying that you’ll need paint and brushes to paint your cabinets. A stirring stick would also be helpful.
- A drill or screwdrivers. A flat-head screwdriver, specifically, would be useful for opening your can of paint.
- Sheet plastic for covering your workspace. You can also use old top sheets from outdated bedding or an old blanket you don’t care about anymore. Whatever you use, remember paint will not come off of it.
- Sawhorses for painting the cabinets doors would work great. You can also cover a table in sheet plastic.
Cover Surfaces
Before you get started, it’s time to cover your work space. Using your sheet plastic or old sheets, cover countertops, floor space, and any surface you’ll be working on. Use painter’s tape to tape the edges in place so that surfaces don’t get uncovered as you work.
If you don’t have sheeting to use, you can also lay down layers of newspaper.
Prepare to Work
Before you can paint your cabinets, you’ll need do a couple things to prepare. The first thing is that you’ll need to remove the cabinet doors. If you want your cabinets to look professionally done, you don’t want paint all over your hardware. Use your drill or screwdriver and remove the doors from the hinges. Then, set the doors aside while you remove the hinges from the cabinetry.
And, last, remove your hardware. Knobs, handles, or otherwise should be removed from the cabinet doors as well. All hardware and screws should be kept in a bowl or plastic bag somewhere nearby to avoid losing them during the painting process.
Sand Surfaces
Once you’re done setting up, you can begin the more involved work. It’s time to sand down your surfaces. Any surface that you plan on painting should be sanded down. This isn’t entirely necessary, but it will help your paint to adhere better and remove imperfections.
Paint Your Cabinets
Once your cabinets are sanded down and ready to go, it’s time to paint! You’ll want to put on at least two coats of paint to ensure even coverage. If your old cabinet color clashes with the new one, we highly recommend painting the inner sides of the doors as well. When painting the doors, make sure you leave plenty of drying time before turning them over to paint the other side. Additionally, don’t forget to paint the edges.
Replace Cabinets Without the Work
If you want the fresh look of new cabinets without all the hard work of painting kitchen cabinets, it might be time to buy them new. Discount Kitchens offers the most quality in affordable cabinetry in Toronto. Give us a call if you have questions about our products or would like to make an order. We look forward to helping you.

