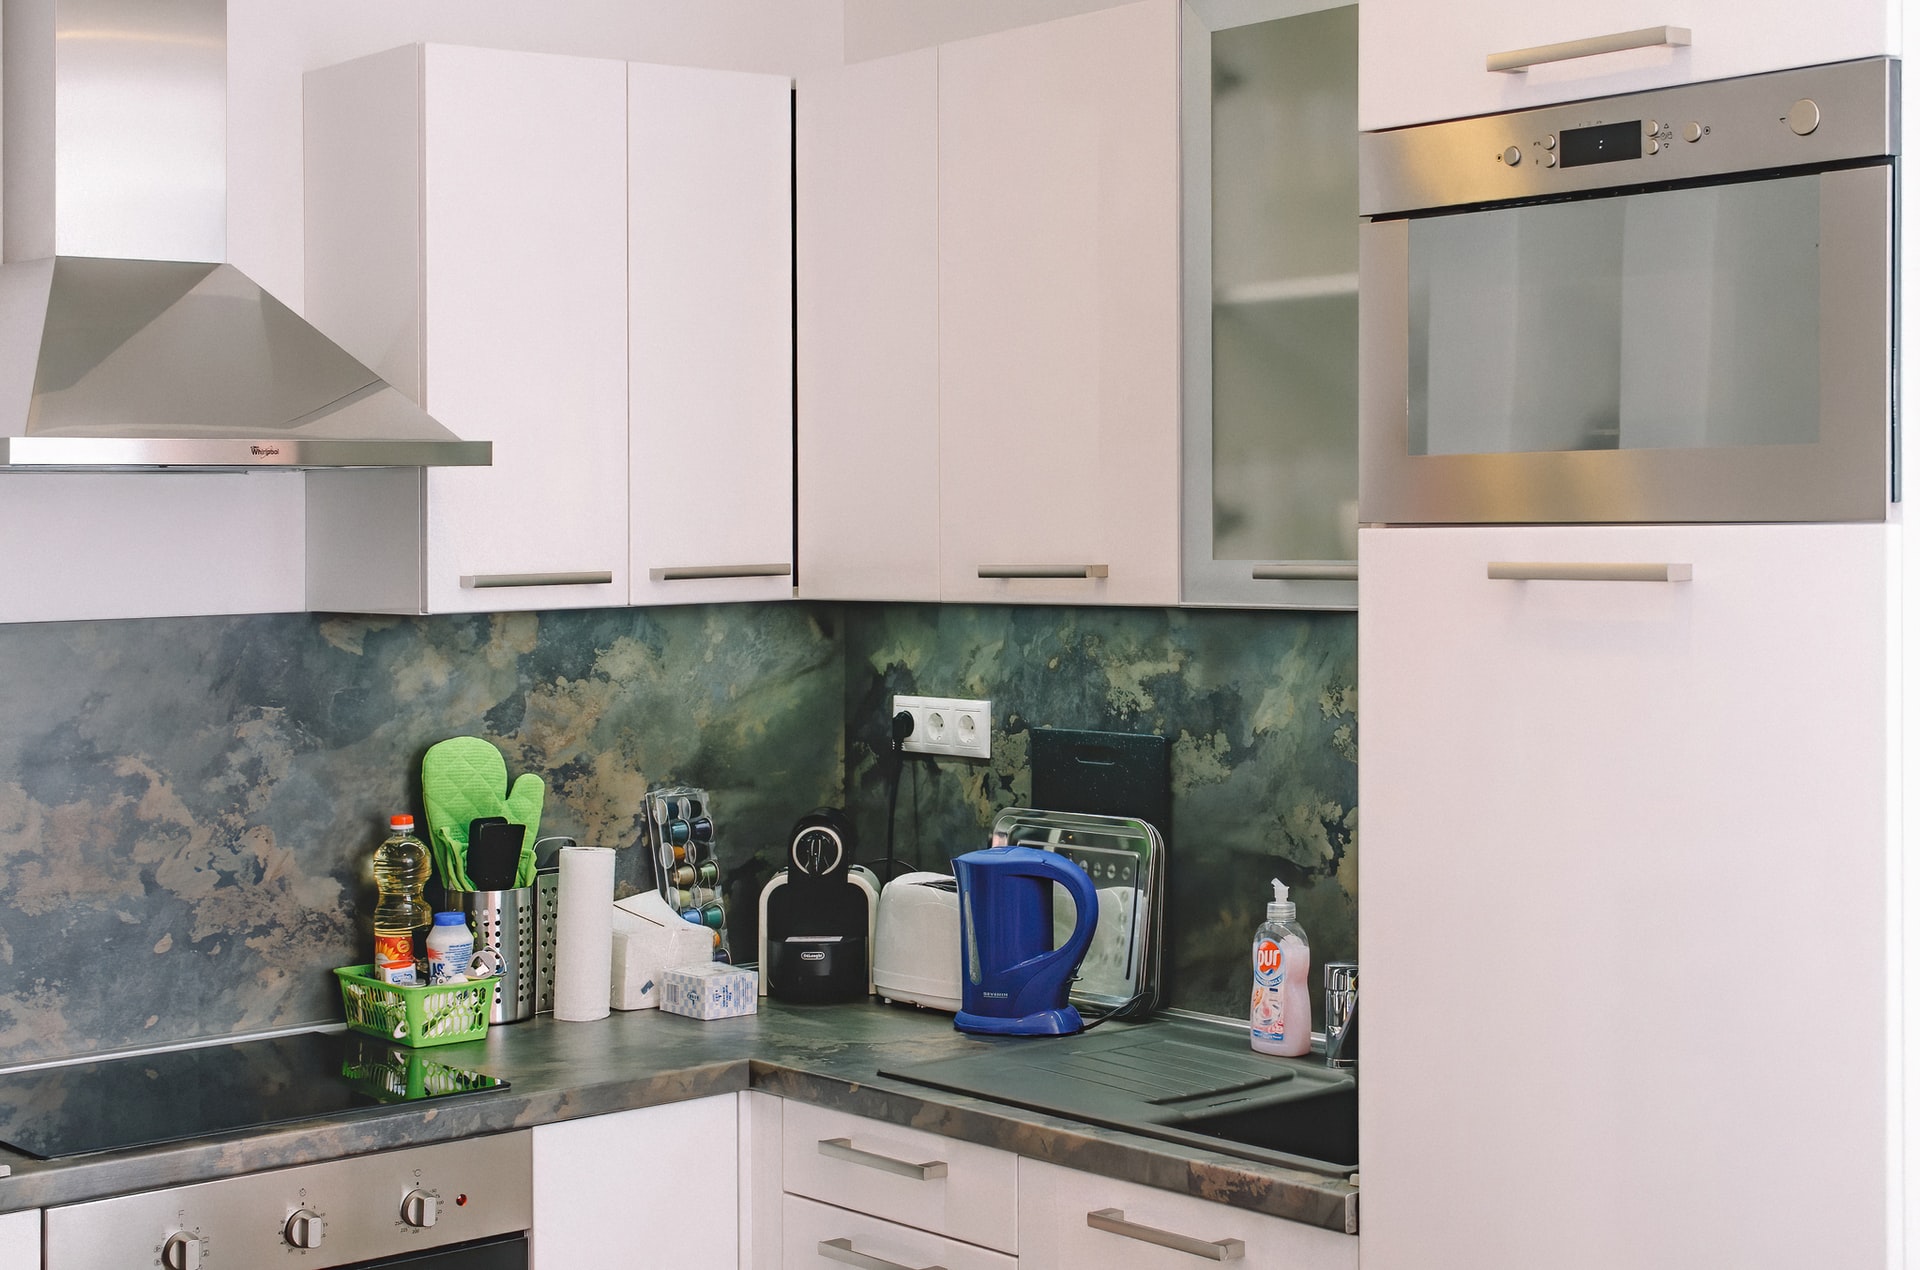
So, you’ve gotten tired of those wobbly knobs or antique handles on your kitchen cabinets? The good news is, replacing hardware is usually pretty easy! The question now is just, how do you replace cabinet hardware? The kitchen experts at Discount Kitchens are here to help.
Gather Supplies
The first thing you need to do to replace cabinet hardware is to gather all of the needed supplies. To start, do you have some new hardware already? If not, there are 3 steps to getting some:
- Check how many screw holes your current hardware has and determine if you want to deal with making new holes. If you don’t want to mess with filling and adding holes in your cabinetry, it’s best to find some new hardware with the same hole types. For single-screw knobs, this couldn’t be easier. For handles, you’ll have to measure the distance between the screws and do some searching online.
- Count how many new knobs or handles you’ll need. You can’t be too cautious; count them twice to be sure.
- Buy yourself some new hardware.
Once you’ve got yourself some hardware, you can get the rest of your things as well. If your hardware has the same amount of holes, you’ll simply need a screwdriver. Check your new hardware to see which kind it requires.
If your new hardware requires new holes, you’ll also need some putty, some paint, a small paintbrush, a drill, and, for multiple-hole installations, a drill. For single-hole installations, you can make do with a piece of paper and some tape.
Remove Old Hardware
The next step should be pretty easy. Removing old hardware is usually as simple as opening the cabinet or drawer it’s attached to, locating the screw on the back of the drawer or door, and unscrewing it. You may need to hold on to a knob to keep it from spinning indefinitely while you unscrew it.
If you’re planning to install your new hardware in a different location or with different holes, you’ll want to fill in the old hole(s) with some putty. If your new hardware won’t interfere with your ability to paint over the putty later, you don’t need to wait for it to dry. However, if the putty will be visible later and hard to reach with a paintbrush, you’ll want to give it a day to dry and then paint it before installing the new hardware.
Install New Hardware
Finally, you can replace cabinet hardware freely. The first step, if you need new holes, is to put them there. For handles with more than one screw, you’ll have to do some careful measuring.
For simple knobs, if new holes are needed, simply place the corner of a piece of paper along the back corner of a cabinet door. When you’ve got it lined up so that the corner of the paper points where you want the knob, fold the remainder of the paper under the bottom of the cabinet door and around the side and tape the overlapping parts together. This should give you a kind of corner-shaped sleeve. Use a pencil to mark where the corner of the paper points. You can then slip the paper off of one door and then slip it onto another, repeating this marking process to make easy screw marker points.
When all of your cabinet doors have been marked, you’ll need to use your drill and a small drill bit to create a hole in each door. When they’ve all been drilled through, installing your hardware is as simple as lining up the knob or handle with your hardware holes and using your drill or screwdriver to screw them into place from the back. And, voila! You’ve got some flashy new hardware that looks a lot better than whatever you removed.

